| # Connect AstrBot to WeCom |
|
|
| AstrBot supports both WeCom Applications and WeCom Customer Service. |
|
|
| ## Supported Basic Message Types |
|
|
| > Version v4.15.0. |
|
|
| | Message Type | Receive | Send | Notes | |
| | --- | --- | --- | --- | |
| | Text | Yes | Yes | | |
| | Image | Yes | Yes | | |
| | Voice | Yes | Yes | | |
| | Video | No | Yes | | |
| | File | No | Yes | | |
|
|
| Proactive message push: Supported for WeCom Application. Not fully tested for WeCom Customer Service. |
|
|
| ## Before You Start |
|
|
| 1. Open AstrBot Dashboard. |
| 2. Click `Bots` in the left sidebar. |
| 3. Click `+ Create Bot`. |
| 4. Select `wecom`. |
|
|
| A configuration dialog will appear. Keep it open and continue with the steps below. |
|
|
| ## Method 1: WeCom Customer Service |
|
|
| > [!NOTE] |
| > 1. Requires AstrBot >= v3.5.7. |
| > 2. This method works directly inside WeChat. |
|
|
| 1. Open [WeCom Customer Service Console](https://kf.weixin.qq.com/) and sign in with WeCom QR login. |
| 2. Create a customer service account in `Customer Service Account`, then copy its **name** (not account ID) to AstrBot field `wechat_kf_account_name`. |
| 3. Go to [WeCom Enterprise Info](https://work.weixin.qq.com/wework_admin/frame#profile), copy `Corpid`, and fill AstrBot `corpid`. |
| 4. Configure callback verification: |
|
|
| - If this is your first customer service bot, open `Development Configuration`, click `Start` next to internal access. |
| - If you used it before, open `Callback Configuration` directly and click edit. |
|
|
|  |
|
|
| 5. Click random generation buttons to get `Token` and `EncodingAESKey`, then fill AstrBot `token` and `encoding_aes_key`. |
| 6. Keep `Unified Webhook Mode (unified_webhook_mode)` enabled, click `Save`, and wait for adapter reload. |
|
|
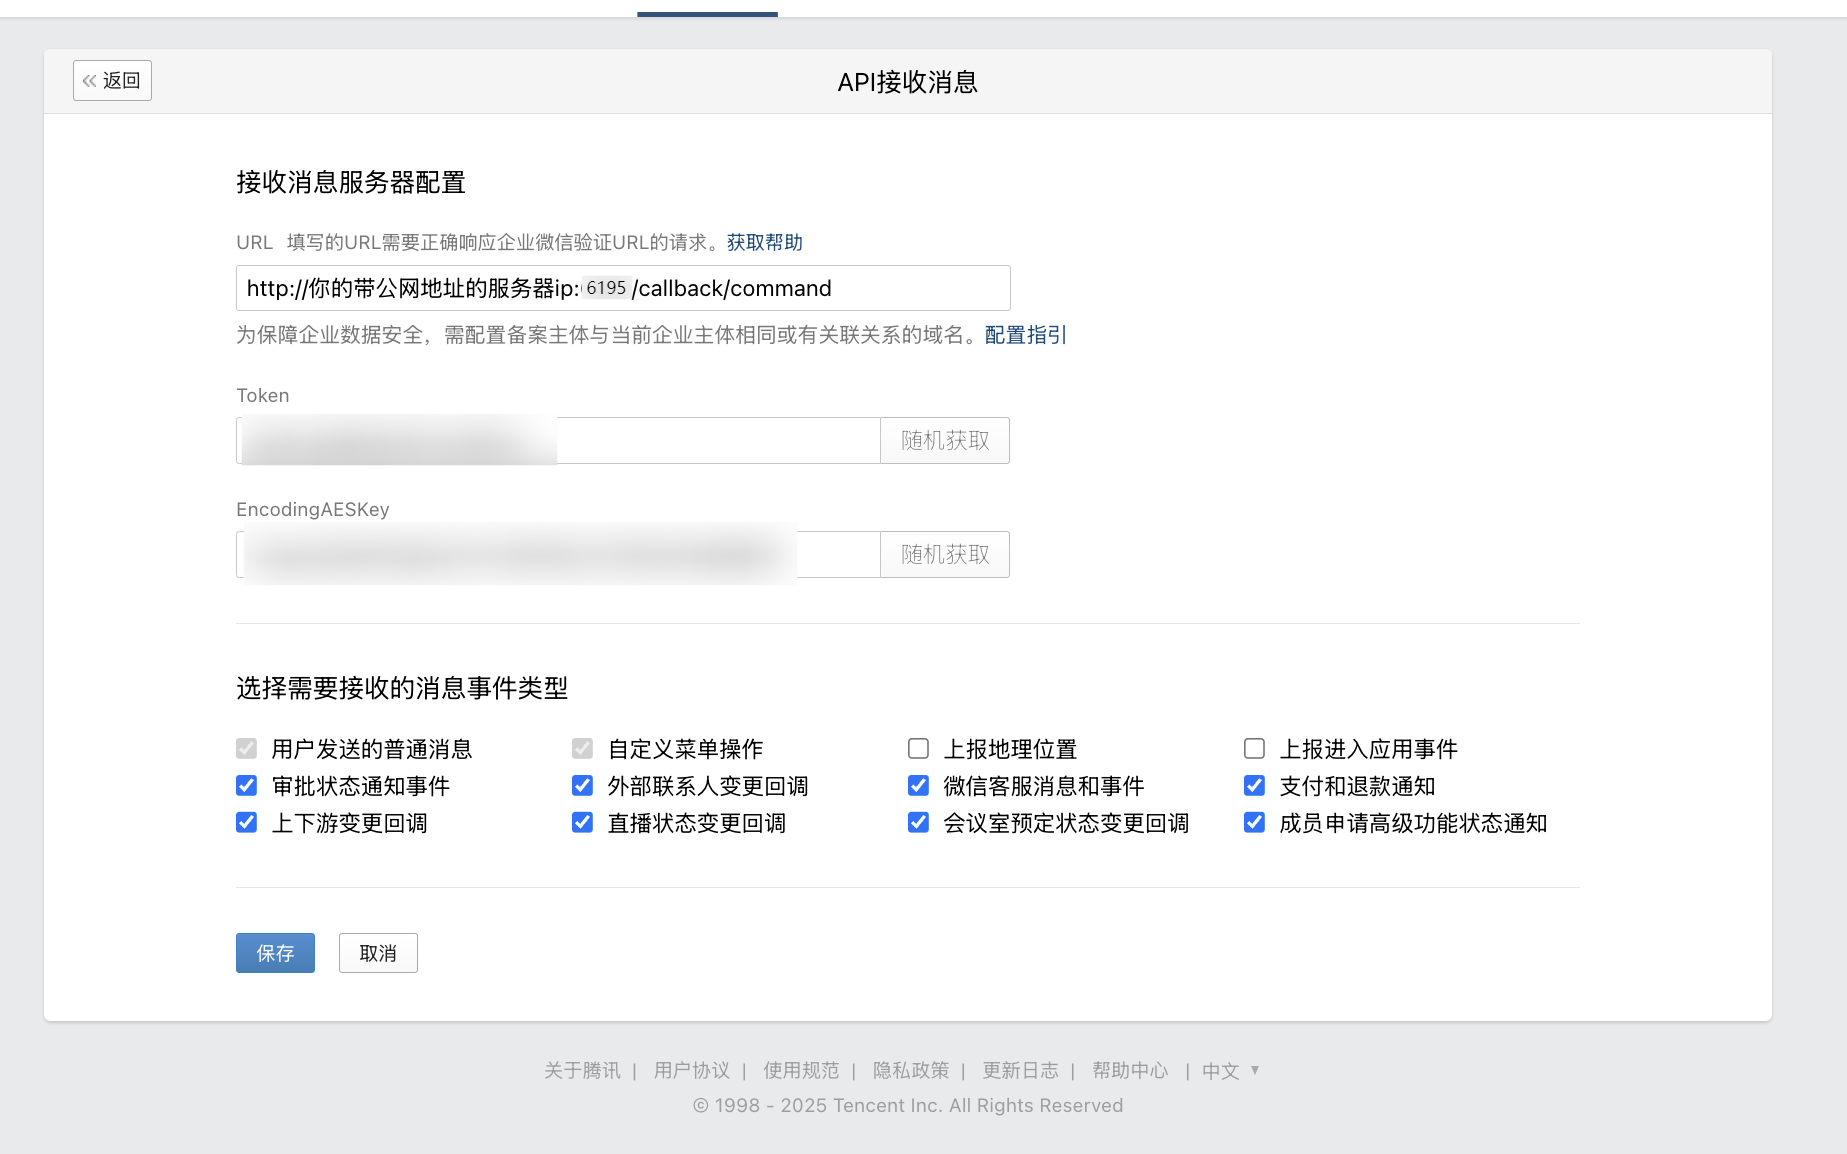
| For callback URL: |
|
|
| - If unified mode is enabled, AstrBot generates a unique webhook callback URL after save. Copy it from logs or bot card in WebUI. |
| - If unified mode is disabled, use `http://<your-public-server-ip>:6195/callback/command`. |
|
|
|  |
|
|
| > If unified mode is enabled, forward external requests to AstrBot port `7860`; otherwise forward to configured adapter port (default `6195`). |
|
|
| Back in WeCom Customer Service callback settings, click `Complete`. If successful, status shows completed. |
|
|
| 7. In `Development Configuration`, get `Secret`, edit your WeCom adapter in AstrBot, set `secret`, then save again. |
|
|
| > [!TIP] |
| > Based on [#571](https://github.com/Soulter/AstrBot/issues/571), for newly registered enterprises, `corp_id` may take about 30 minutes to become valid. |
| |
| Then open AstrBot `Console`, you should see logs asking you to open a WeChat scan link. |
| |
| ```txt |
| Please open the following link and scan with WeChat ... |
| ``` |
| |
| 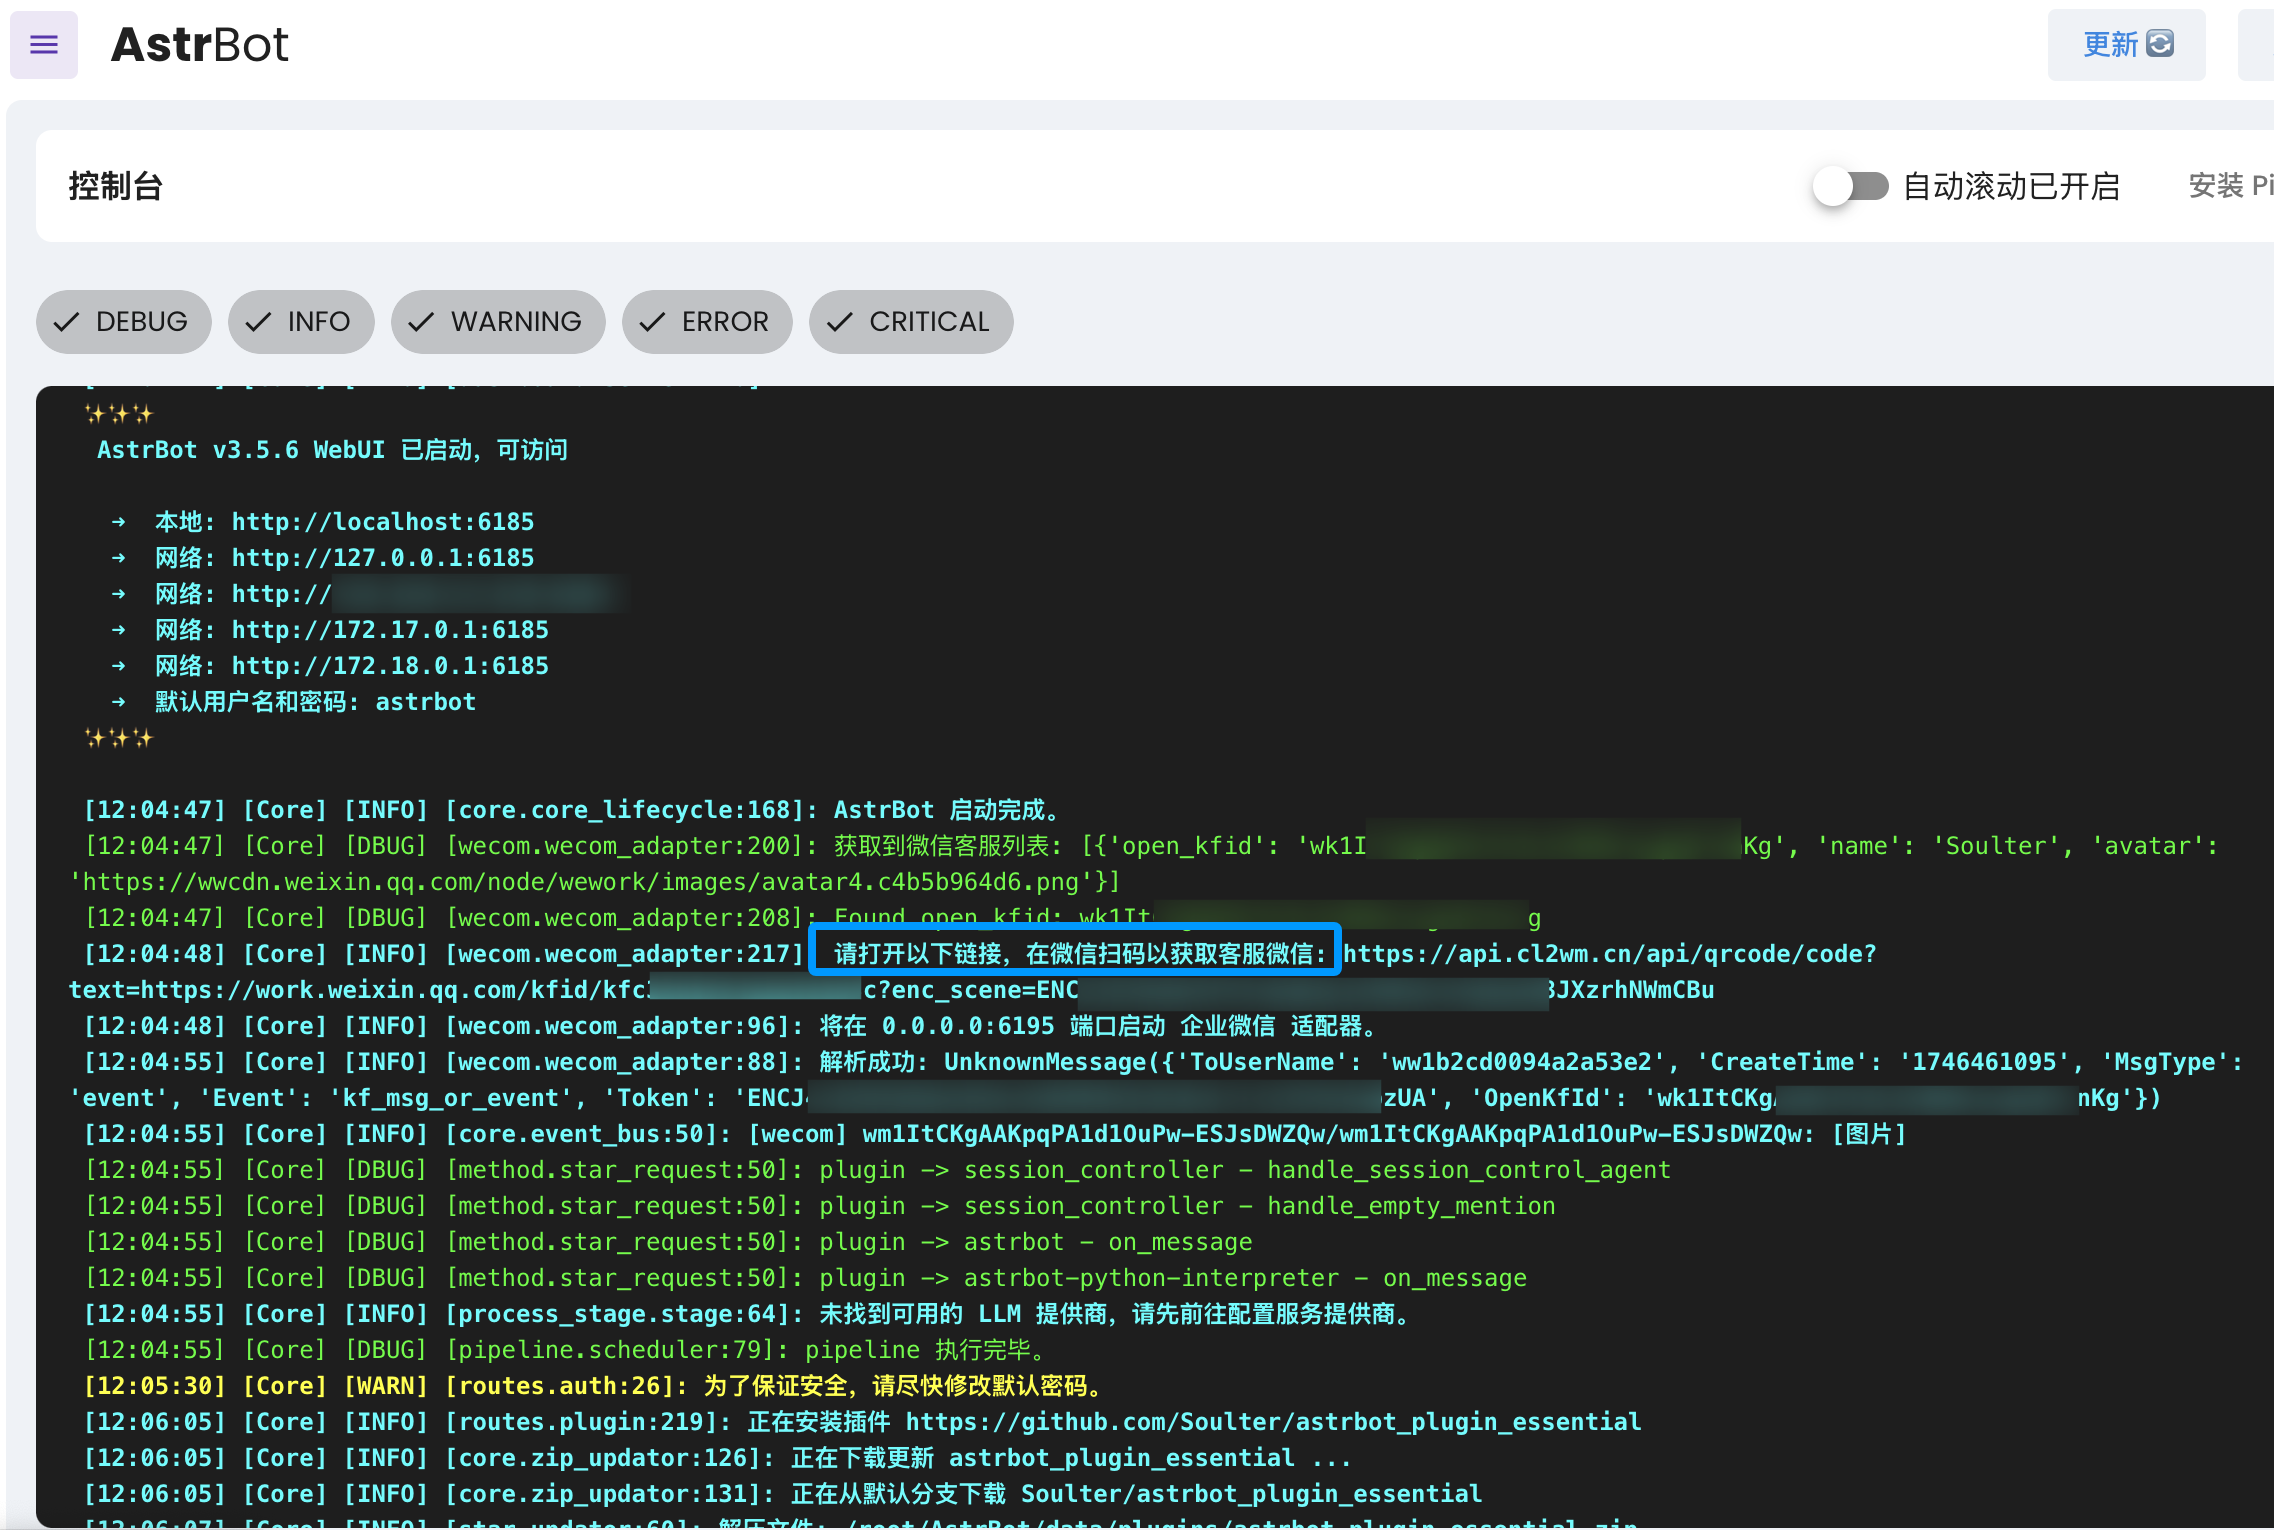 |
| |
| Open the link, scan with WeChat, then send `help` in the customer service chat to test connectivity. |
| |
| ## Method 2: WeCom Application |
| |
| Open: <https://work.weixin.qq.com/wework_admin/frame#apps> |
| |
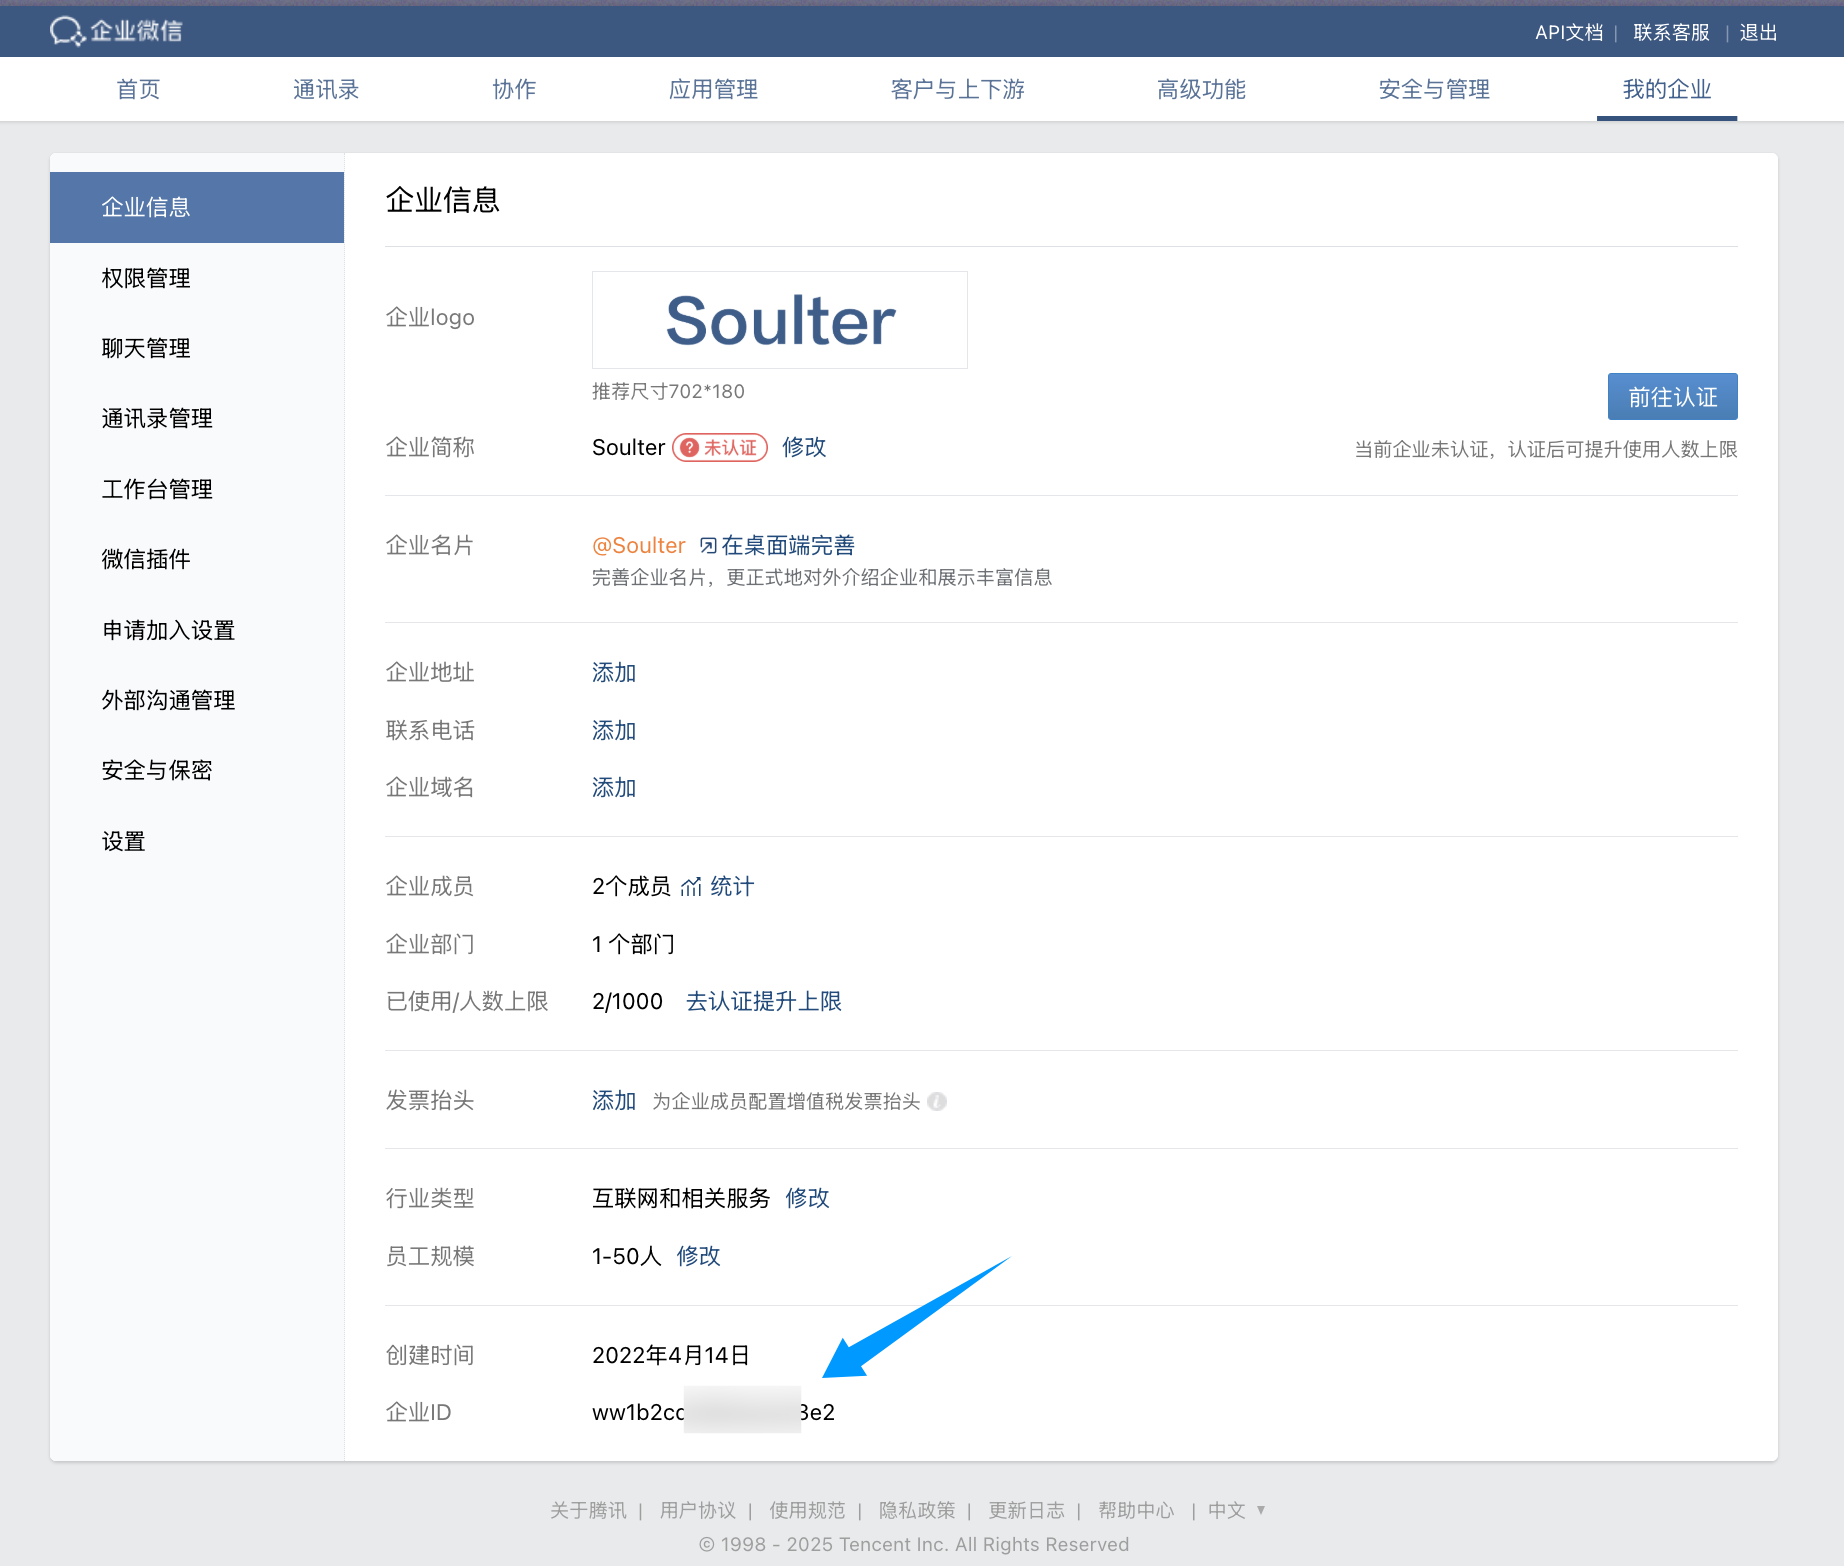
| 1. Click `My Company`, copy enterprise ID (`Corpid`), and fill AstrBot `corpid`. |
| |
| > [!TIP] |
| > For newly registered enterprises, `corp_id` may take time to become valid. See [#571](https://github.com/Soulter/AstrBot/issues/571). |
|
|
|  |
|
|
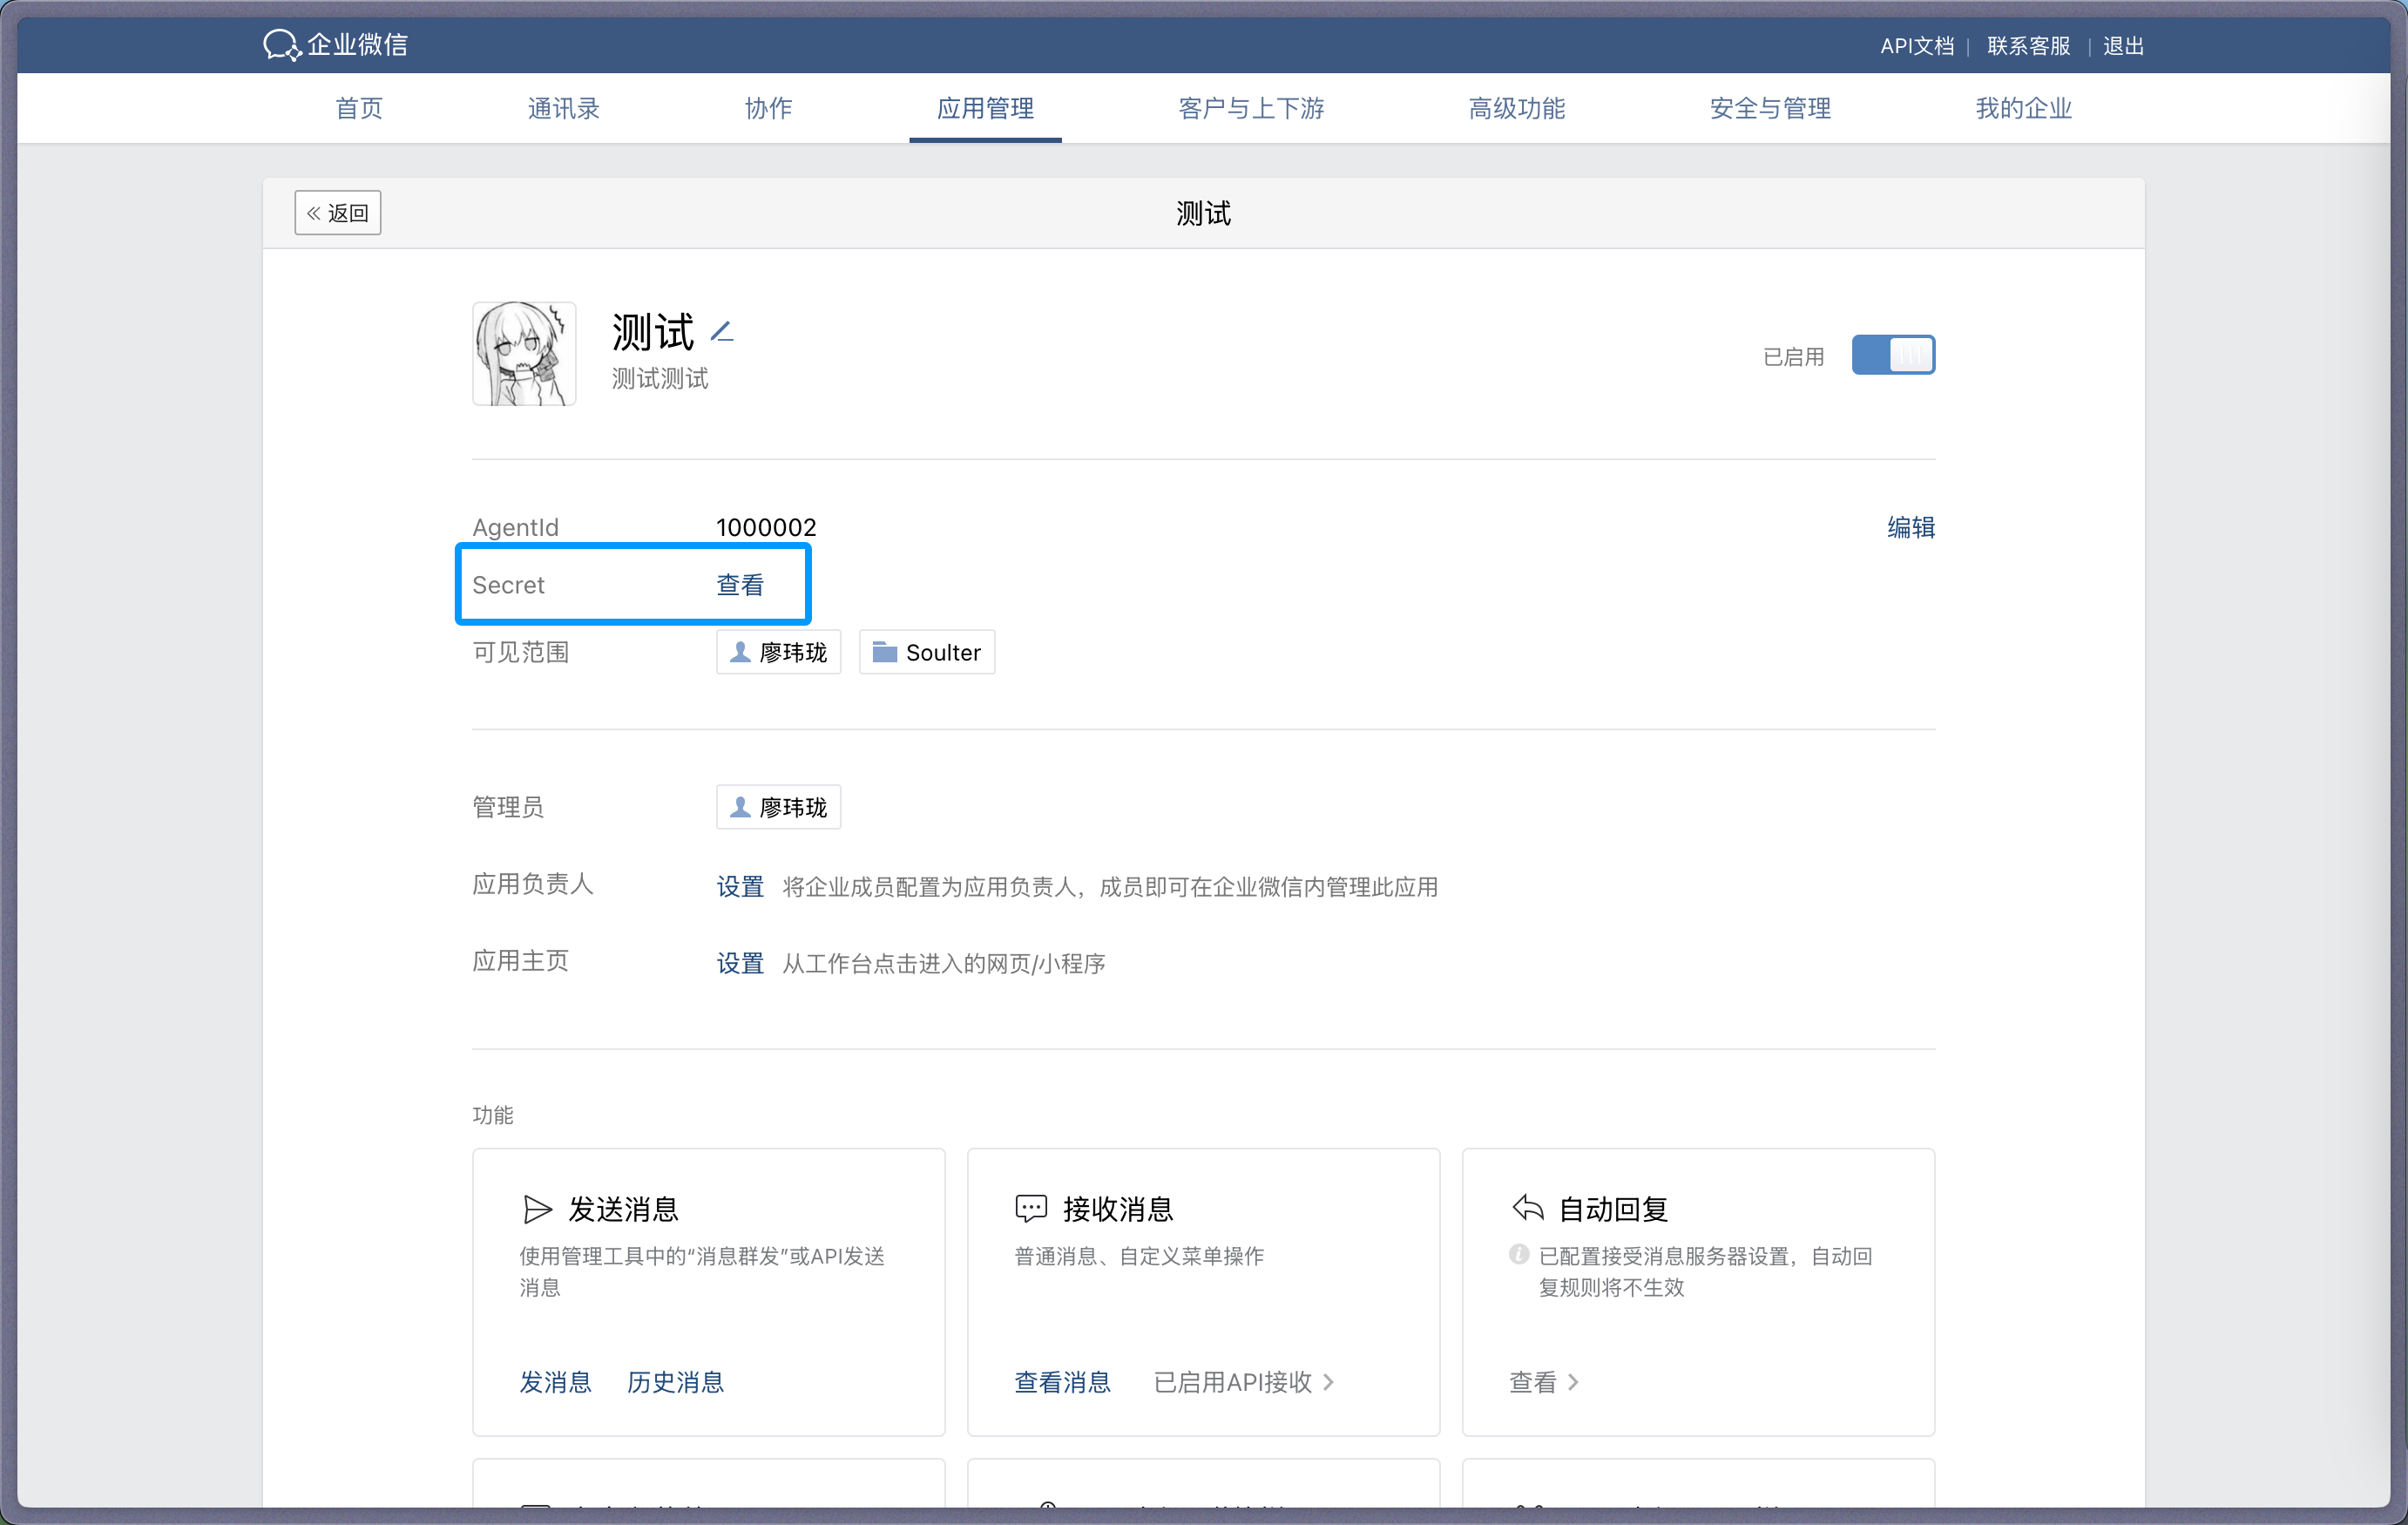
| 2. Create a custom app (`Custom App`) and fill name/avatar/visibility scope. |
| 3. Open the app, copy `Secret`, and fill AstrBot `secret`. |
|
|
|  |
|
|
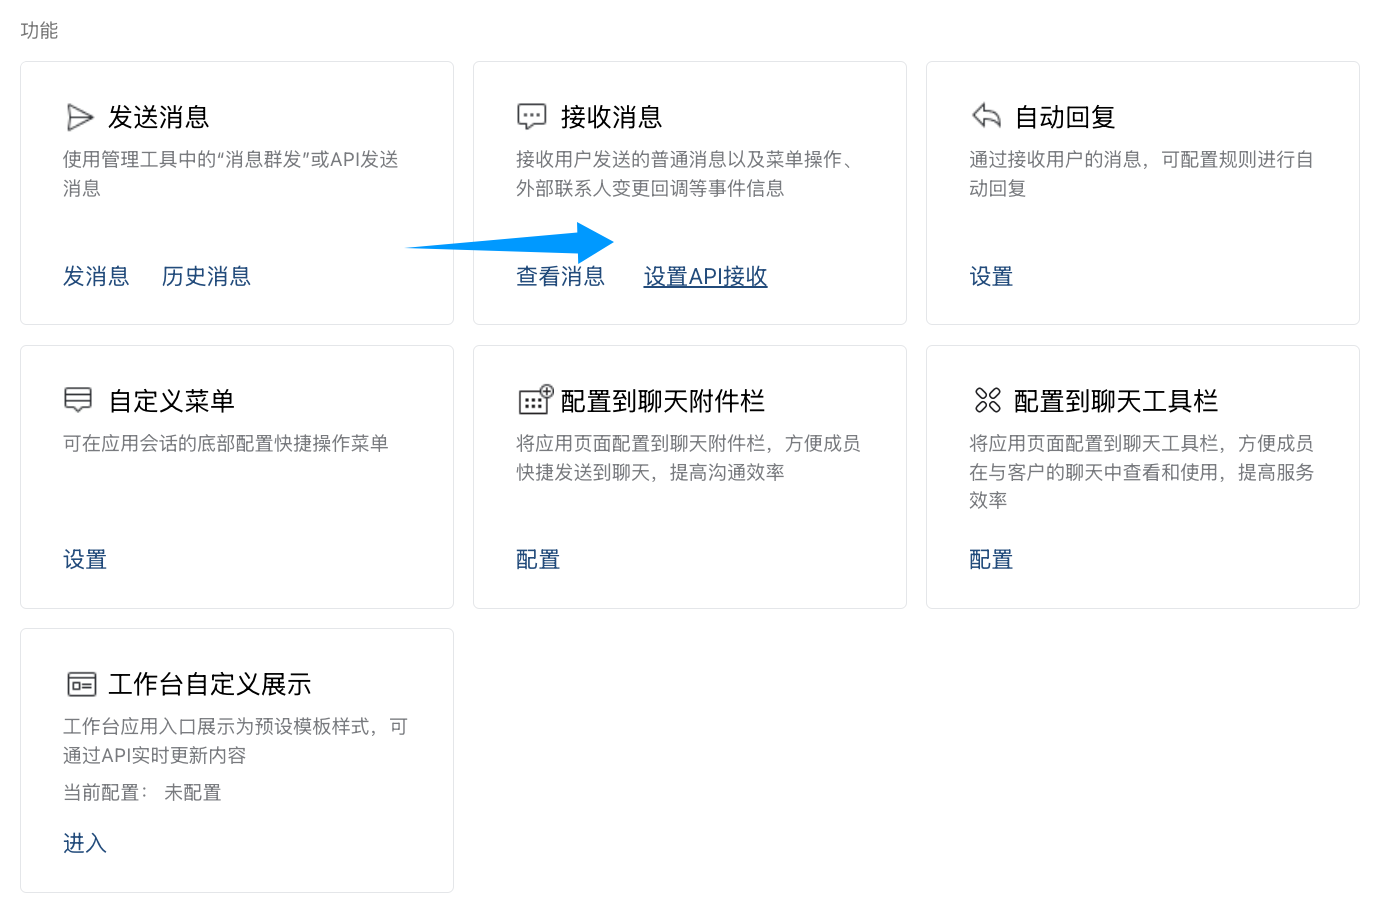
| 4. In app settings, find `Receive Messages`, click `Set API Receive`. |
|
|
|  |
|
|
|  |
|
|
| 5. Generate `Token` and `EncodingAESKey`, fill AstrBot `token` and `encoding_aes_key`. |
| 6. Keep `Unified Webhook Mode (unified_webhook_mode)` enabled (recommended), then click Save in AstrBot and wait for restart. |
|
|
| For callback URL: |
|
|
| - If unified mode is enabled, use the generated unique callback URL from logs or bot card. |
| - If unified mode is disabled, use `http://<your-public-server-ip>:6195/callback/command`. |
|
|
|  |
|
|
| > If unified mode is enabled, forward to port `7860`; otherwise forward to configured adapter port (default `6195`). |
|
|
| 7. Configure trusted enterprise IP in WeCom. |
|
|
|  |
|
|
| Add your public IP and confirm. |
|
|
|  |
|
|
| After AstrBot restart, return to API receive page and click save. If you see callback verification errors, re-check all required fields. |
|
|
| If save succeeds, AstrBot can receive messages from WeCom. |
|
|
| ## Test |
|
|
| In WeCom Workbench, open the app you just created and send `/help`. |
|
|
| If AstrBot replies, integration is successful. |
|
|
| ## Reverse Proxy (Custom API Base) |
|
|
| AstrBot supports custom WeCom endpoint (`api_base_url`) for environments without stable public IP. |
|
|
| Set your custom endpoint in `api_base_url`. |
|
|
| ## Voice Input |
|
|
| Install `ffmpeg` for voice input support. |
|
|
| - Linux: `apt install ffmpeg` |
| - Windows: download from [FFmpeg website](https://ffmpeg.org/download.html) |
| - macOS: `brew install ffmpeg` |
|
|
