| # 自建 GitHub 加速服务 |
|
|
| 如果发现升级 AstrBot、安装/更新插件时总是因为网络问题安装失败,您可以通过自建 GitHub 加速服务来实现高速访问。 |
|
|
|  |
|
|
| ## 使用 `lxfight/astrbot2github` 自建加速服务 |
|
|
| > 预计部署用时: `2` 分钟 |
|
|
| 0. 打开 [lxfight/astrbot2github](https://github.com/lxfight/astrbot2github) |
| 1. **(可选但推荐)** 给本项目点个 [**Star ⭐**](https://github.com/lxfight/astrbot2github),你的支持是作者更新和维护的动力! |
| 2. **Fork 本项目**: 点击页面右上角的 [**Fork**](https://github.com/lxfight/astrbot2github/fork) 按钮,将此项目复刻到你自己的 GitHub 账号下。 |
| 3. **登录 Deno Deploy**: 访问 [Deno Deploy](https://dash.deno.com/) 并使用你的 GitHub 账号登录。 |
| 4. **创建新项目**: |
| * 点击 **New Project** (或 **新建项目**)。 |
| * 选择 **Deploy from GitHub repository** (带有 GitHub 图标的那个选项)。 |
| * 授权 Deno Deploy 访问你的 GitHub 仓库。 |
| 5. **选择仓库**: 在仓库列表中,选择刚刚 Fork 的 `astrbot2github` 项目。 |
| 6. **配置部署**: |
| * **Production Branch**: 保持默认 (`main`) 即可。 |
| * **Entrypoint**: **这是关键步骤!** 点击下拉框,找到并选择 `deno_index.ts` 文件作为入口点。 |
| * **Project Name**: Deno 会自动生成一个项目名称,这将是你的服务地址的一部分。你可以保留自动生成的名称 (例如 `fluffy-donkey-12`),也可以自定义名称 (例如 `my-astrbot-proxy`)。 |
| 7. **开始部署**: 确认设置无误后,点击 **Link** 或 **Deploy** 按钮。稍等片刻即可完成。 |
| 8. **获取服务地址**: 部署成功后,页面会显示你的服务地址,格式为 `https://<第6步设置的项目名>.deno.dev`。复制这个地址。 |
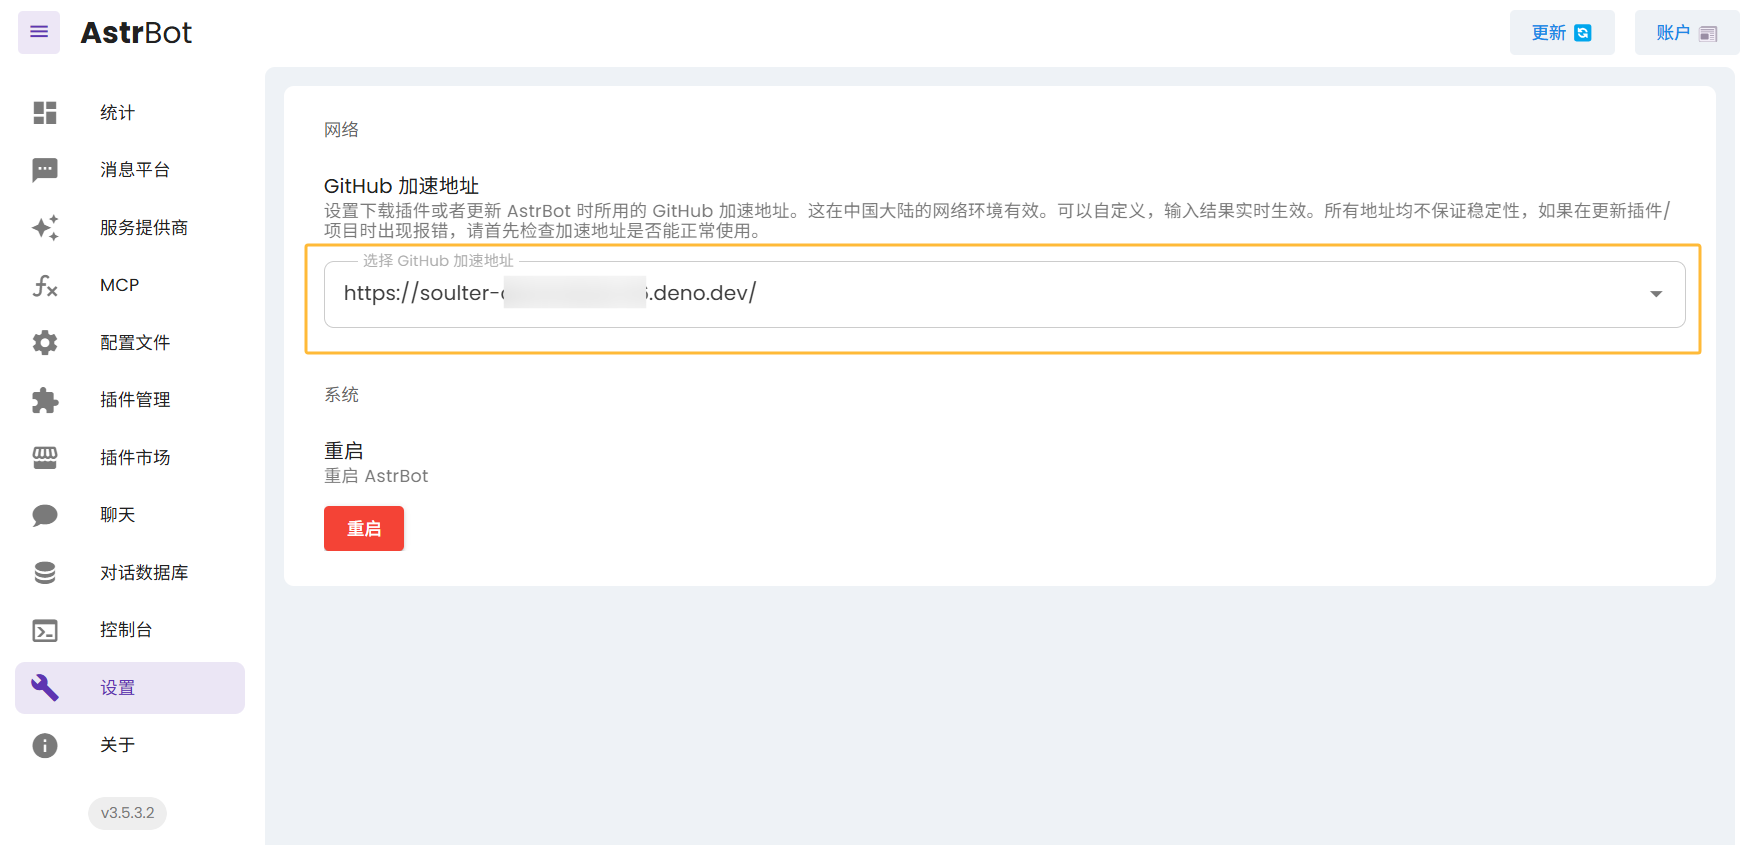
| 9. **配置 AstrBot**: |
| * 回到你的 AstrBot WebUI。 |
| * 进入 **设置 (Settings)** 页面。 |
| * 找到 **GitHub 加速地址 (GitHub Proxy)** |
| * 将**第 8 步**复制的 Deno 服务地址完整粘贴进去。 |
|
|
| 🎉 **完成!** 现在 AstrBot 在访问插件市场和下载插件时,将会通过你刚刚部署的 Deno 服务进行代理。 |
|
|
