| # Deploy AstrBot from Source Code |
|
|
| > [!WARNING] |
| > You are deploying this project directly from source code. This tutorial requires you to have some technical background. |
| > |
| > This tutorial assumes Python is already installed on your device with version `>=3.10` |
|
|
|
|
| ## Download/Clone Repository |
|
|
| If you have `git` installed on your computer, you can download the source code with the following command: |
|
|
| ```bash |
| git clone https://github.com/AstrBotDevs/AstrBot.git |
| # The above code will pull the latest commit of the source code, if you need to pull the latest stable release version of the source code, you can use the following command: |
| # git clone --depth=1 --branch $(git ls-remote --tags --sort='-v:refname' https://github.com/AstrBotDevs/AstrBot.git | head -n1 | awk -F/ '{print $3}') https://github.com/AstrBotDevs/AstrBot.git |
| cd AstrBot |
| ``` |
|
|
| If you don't have `git` installed, please download and install it first. |
|
|
| Alternatively, download the source code directly from GitHub and extract it: |
|
|
| 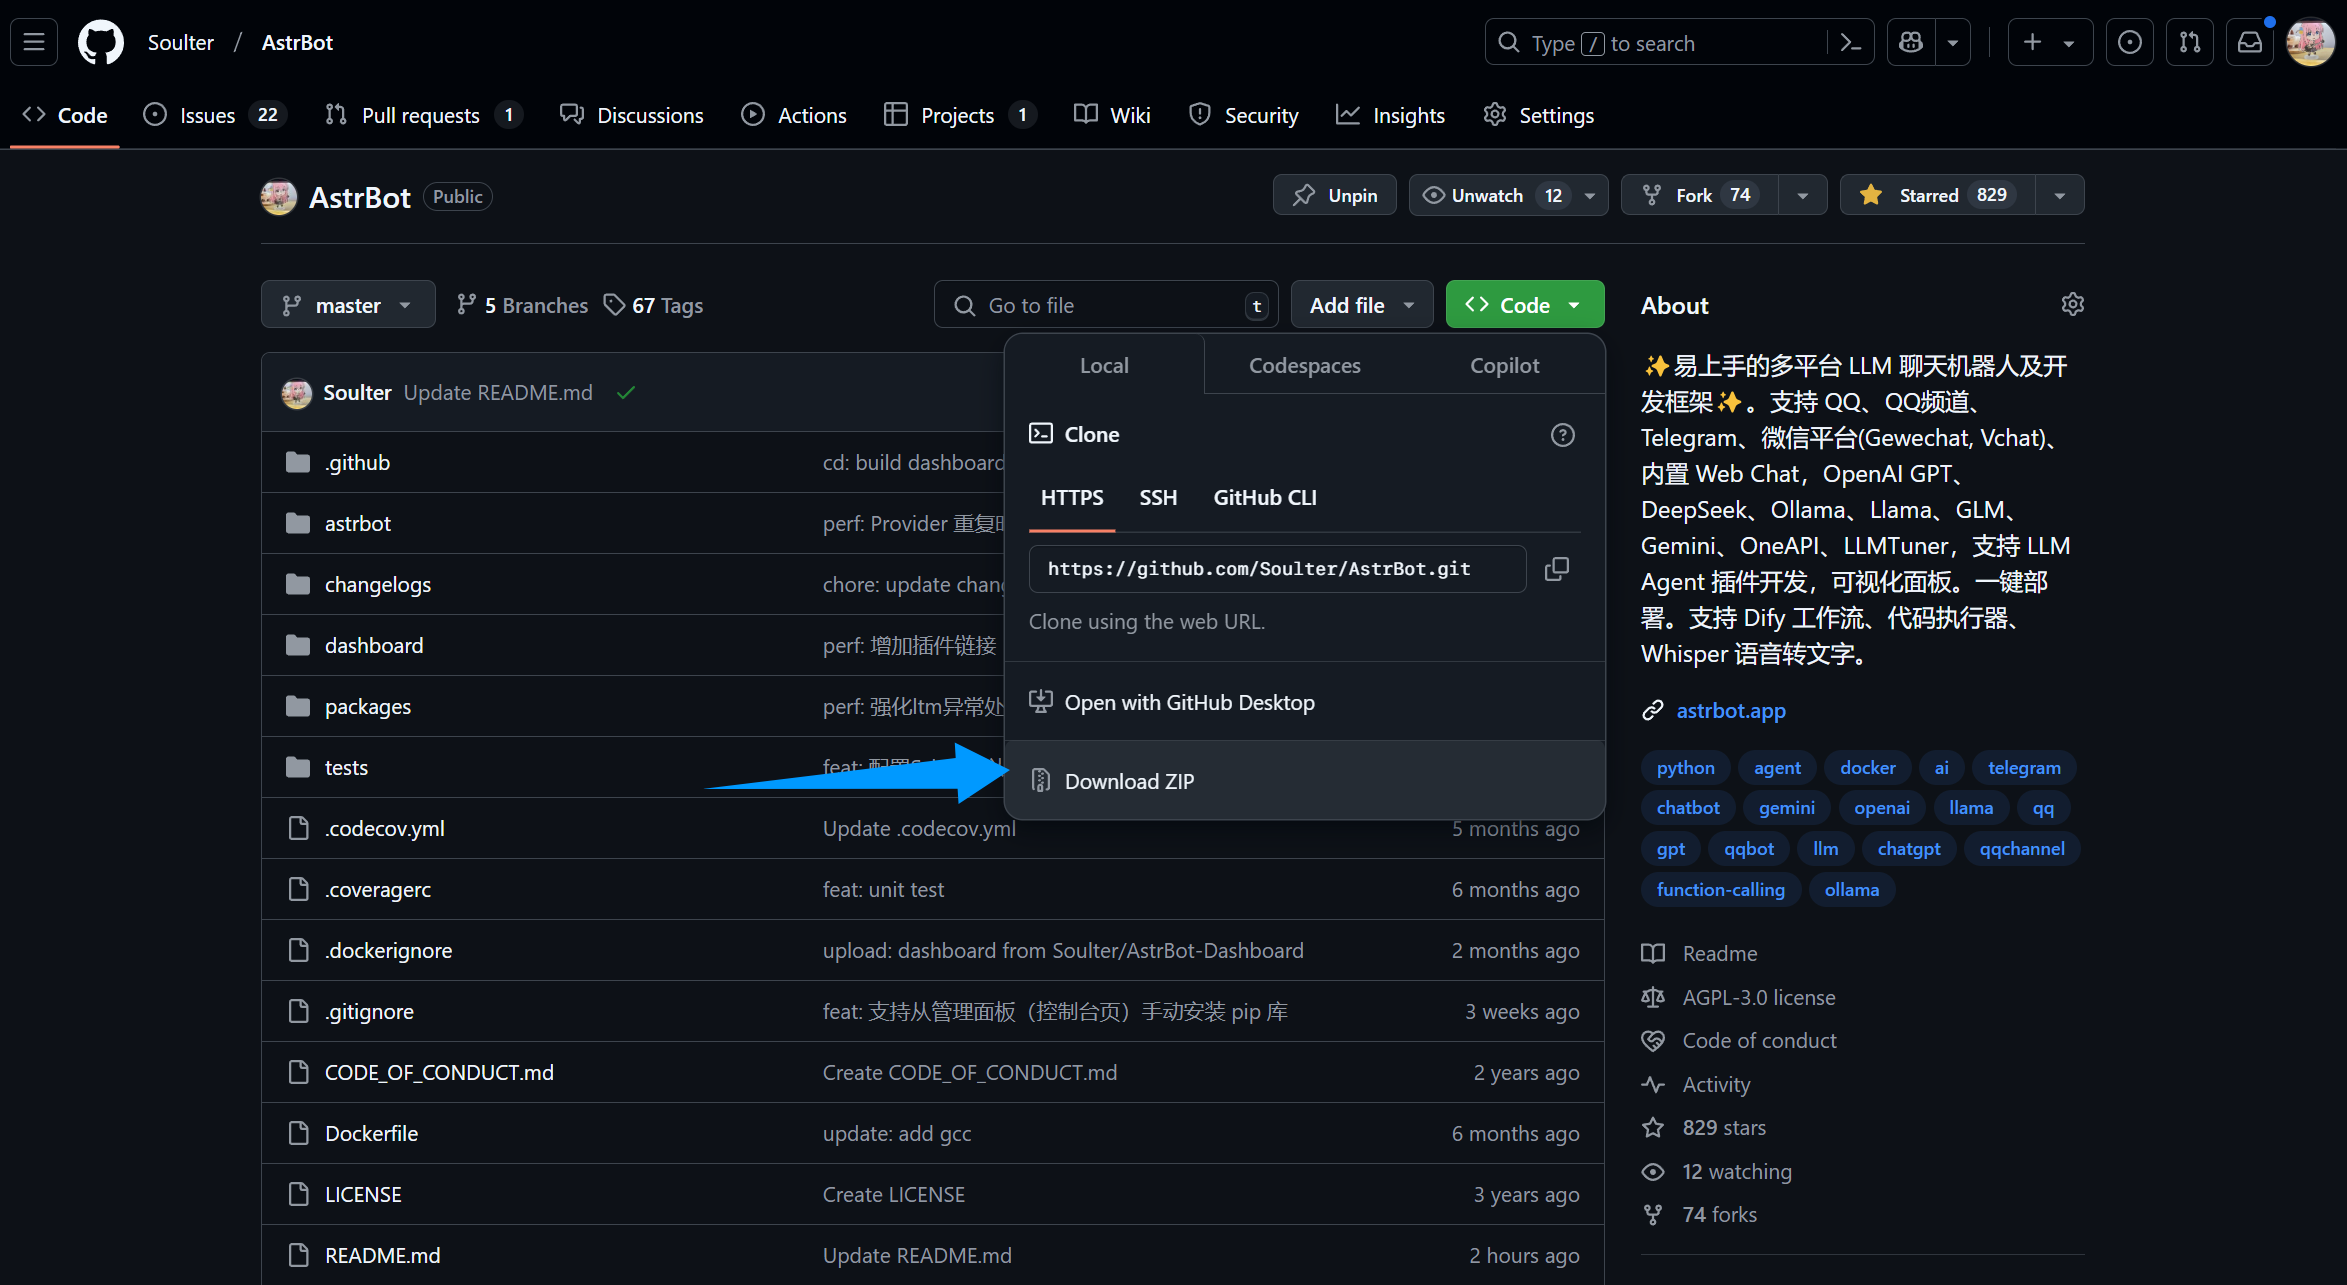 |
|
|
| ## Install Dependencies and Run |
|
|
| ::: details 【🥳Recommended】Use `uv` to Manage Dependencies |
|
|
| > If `uv` is not installed, please refer to [Installing uv](https://docs.astral.sh/uv/getting-started/installation/) for installation. |
|
|
| 2. Execute in terminal (in the AstrBot directory) |
| ```bash |
| uv sync |
| uv run main.py |
| ``` |
|
|
| If you have installed some plugins, it is recommended to add the `--no-sync` parameter for subsequent startups to avoid reinstalling plugin dependencies. We are working on solving this issue, so stay tuned. |
|
|
| ```bash |
| uv run --no-sync main.py |
| ``` |
| ::: |
|
|
| ::: details Install Dependencies with Python Built-in venv |
|
|
| In the AstrBot source code directory, run the following command in the terminal: |
|
|
| > If on Windows and you downloaded and extracted the source code directly, please open the extracted folder and enter in the address bar: |
| > 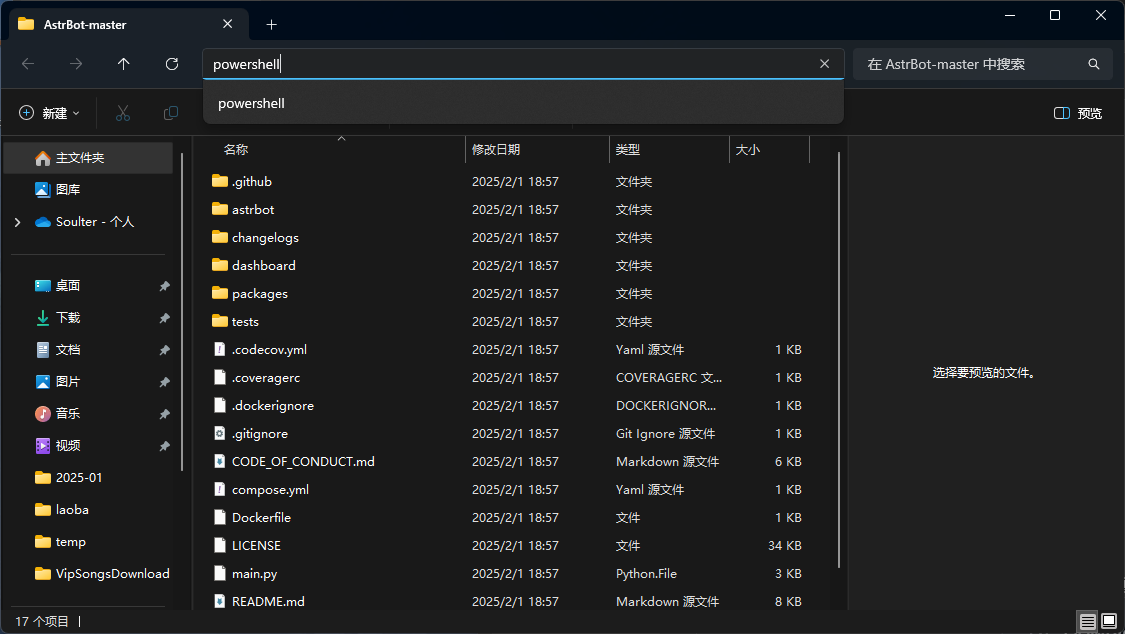 |
|
|
| ```bash |
| python3 -m venv ./venv |
| ``` |
|
|
| > It might be `python` instead of `python3` |
| |
| The above steps will create and activate a virtual environment (to avoid disrupting your local Python environment). |
|
|
| Next, install the dependencies with the following command, which may take some time: |
|
|
| Execute on Mac/Linux/WSL: |
|
|
| ```bash |
| source venv/bin/activate |
| python -m pip install -r requirements.txt -i https://mirrors.tuna.tsinghua.edu.cn/pypi/web/simple |
| python main.py |
| ``` |
|
|
| Execute on Windows: |
|
|
| ```bash |
| venv\Scripts\activate |
| python -m pip install -r requirements.txt -i https://mirrors.tuna.tsinghua.edu.cn/pypi/web/simple |
| python main.py |
| ``` |
| ::: |
|
|
|
|
| ## 🎉 All Done! |
|
|
| If everything goes well, you will see logs printed by AstrBot. |
|
|
| If there are no errors, you will see a log message similar to `🌈 Dashboard started, accessible at` with several links. Open one of the links to access the AstrBot dashboard. The link is `http://localhost:7860`. |
|
|
| > [!TIP] |
| > If you are deploying AstrBot on a server, you need to replace `localhost` with your server's IP address. |
| > |
| > The default username and password are `astrbot` and `astrbot`. |
|
|
|
|
| Next, you need to deploy any messaging platform to use AstrBot on that platform. |
|
|
